Sunday 26 January 2014
Raspberry Vanilla Pink Ombre Meringues
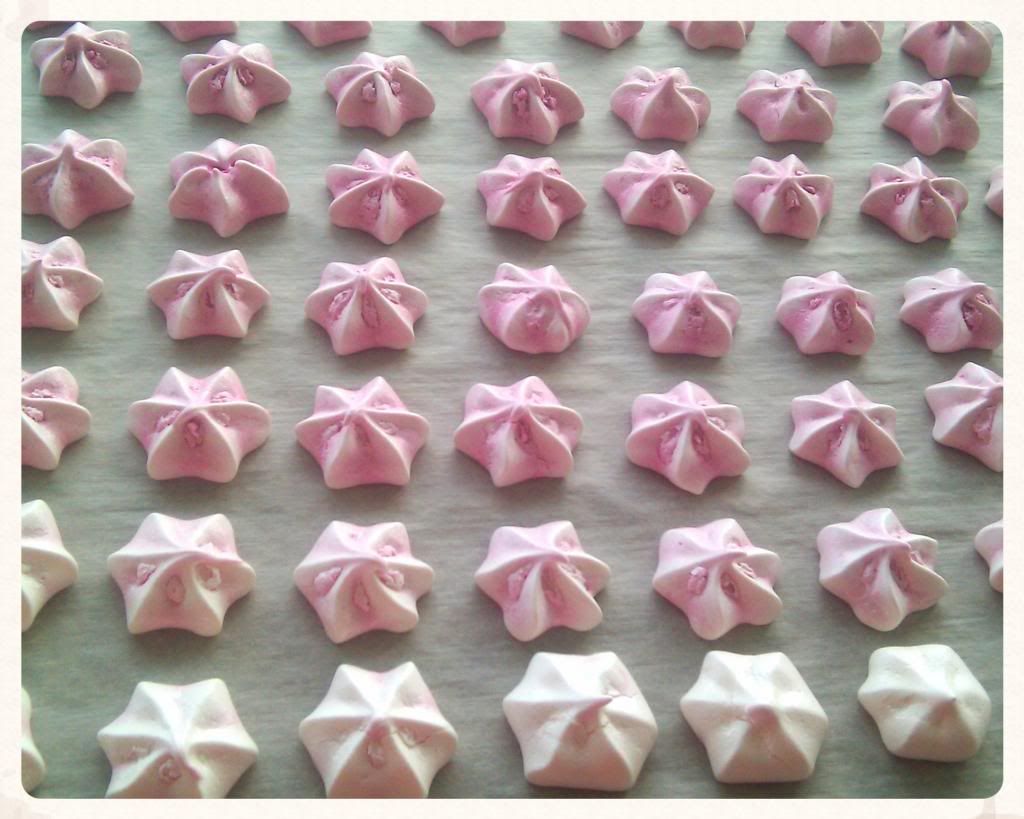
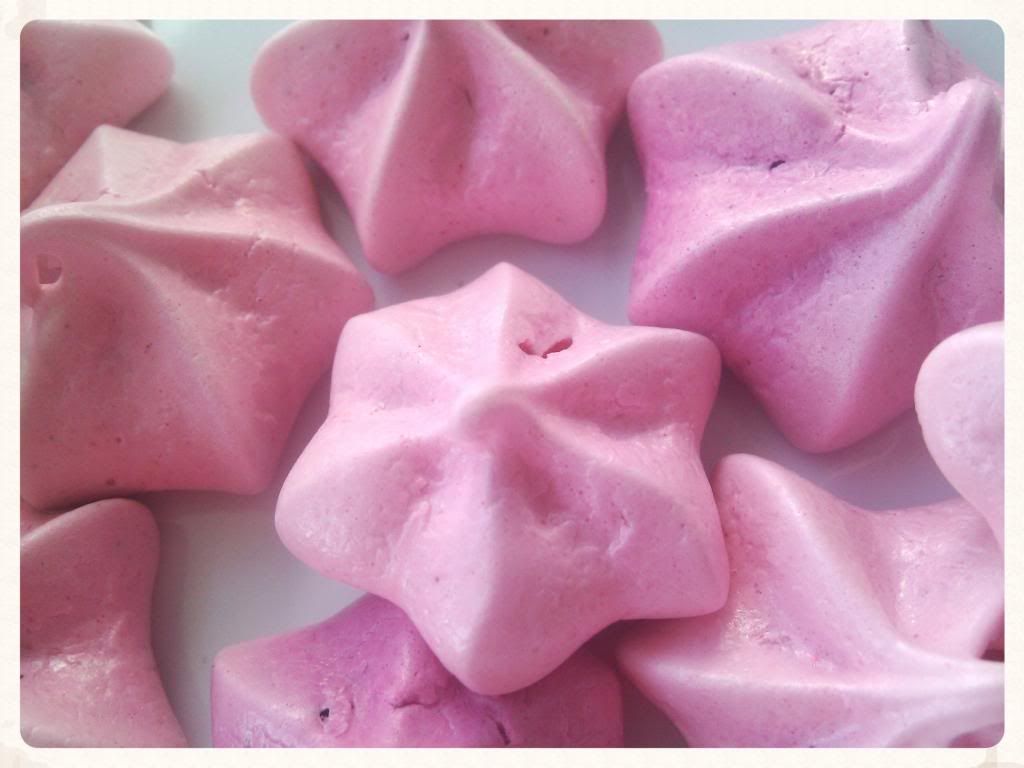
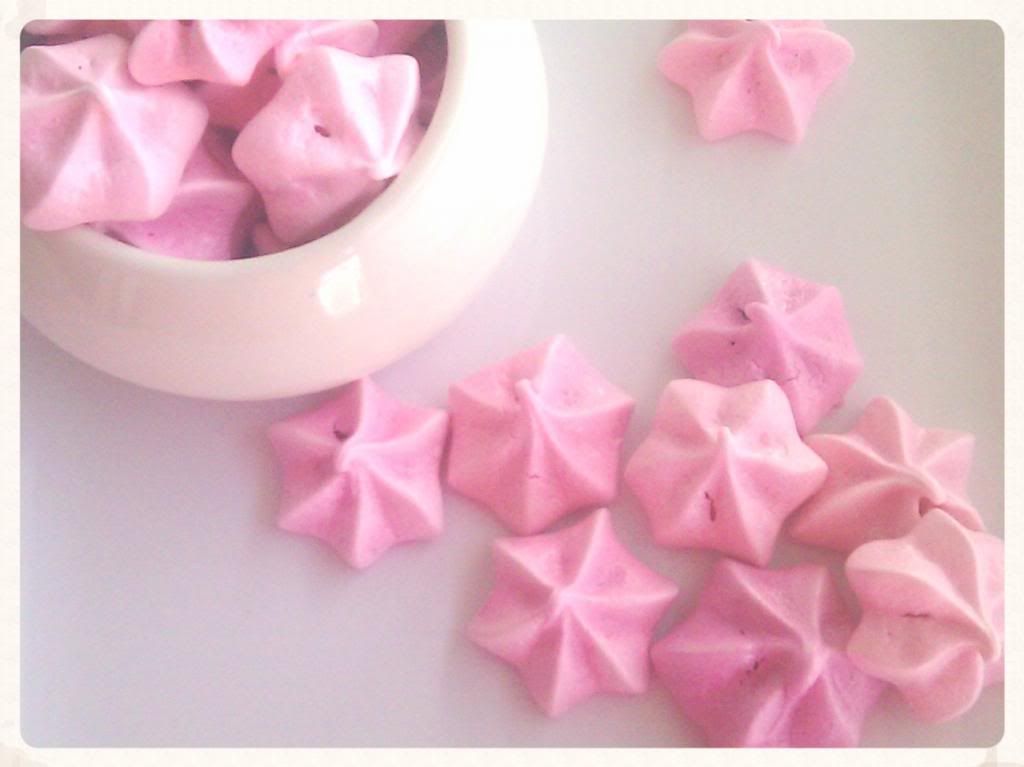
Little melt in your mouth meringues, my little pink petit fours meringues flavoured with raspberry and vanilla, in omber pink flowing from white to pink and back.
I've been making meringues for many years and there always seems to be something new to add to the little sugary bites. I chose the raspberry vanilla combination to match with the colours I chose to portray the popular ombre trend we are seeing everywhere from decor and fashion, to food.
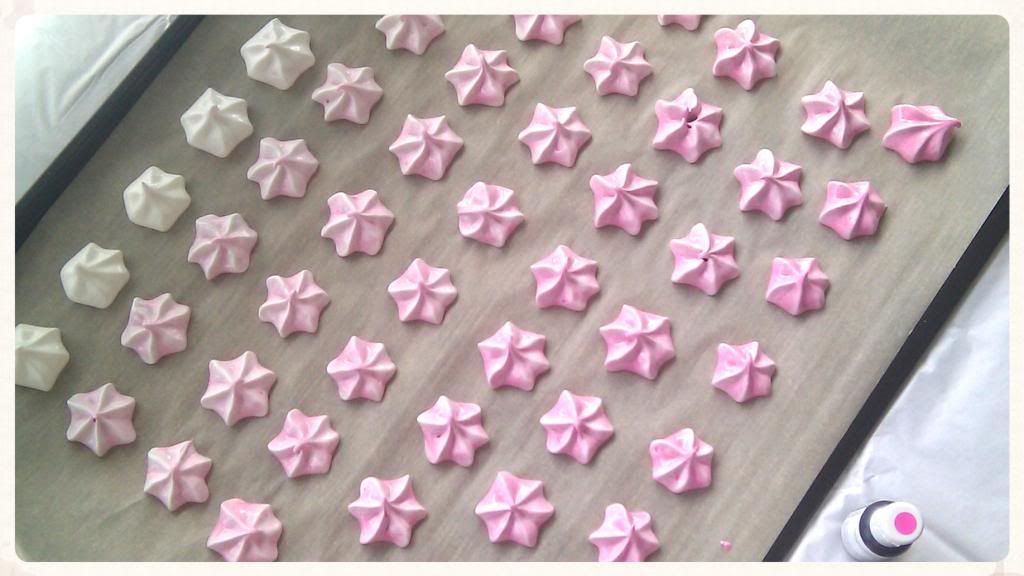
To let the colours bleed into each other, i split the batch in 3 and mixed a bit of deep pink Americolor and magenta into the separate batches. I then started by filling the piping bag with the white, the deep pink, then then the magenta so a variation was piped onto the baking sheet.
The best part is, you could apply the process to any colour and go from white to deep blue, or create the colours of a beautiful sunset (i may have to try that one later).
Hope you have fun creating and nibbling!
Raspberry - Vanilla Meringues
Equipment:
Baking sheets lined with parchment paper
Piping bag
Stand mixer with whisk attachment
Meringues:
4 egg whites at room temperature
1 cup of sugar
pinch of cream of tartar
1/4 tsp of vanilla bean paste
1/4 tsp of raspberry extract
magenta americolor food colouring
deep pink americolor food colouring
1) Preheat oven to 200 degrees and line baking sheets with parchment paper.
2) Beat egg whites and extracts in mixer on medium until frothy. Continue beating and add cream of tartar.
3) Slowly add the sugar into the eggs. Continue to beat until stiff peaks form.
4) Split the meringue into 3 bowls and add 2 drops of each colouring, leaving one bowl alone to be the white.
5) Gently fold the colour into each bowl of meringue.
6) Gently scoup the white meringue into the piping bag, then the deep pink. Do not worry if it does not all fit, we will add the remainder to the bag along with the third colour after we pipe the first batch.
7) Pipe small meringues about an inch in size on the baking sheet, leaving about 3/4 inch between.You will see the pink start to bleed through the white, leaving the ombre gradiation of colour in the meringues as you continue to pipe.
** To pipe, hold the bag 1/2 an inch to 3/4 inch off the parchment, squeeze the bag for the meringue to come out and when the meringues are the desired size, release the pressure at the same time dipping the bag down slightly and lifting directly up. This gets much easier the more piping you do. **
8) When you have completed the first batch, fill the bag with the remaining deep pink colour meringue and the magenta.
9) Continue piping the meringues until complete and place in the oven for baking. They will need about 90 minutes, or an hour and a half to complete their cooking. Remove from oven and let cool.
Sunday 19 January 2014
Fruit & Spice Gingerbread Mini Loaves (dairy free)
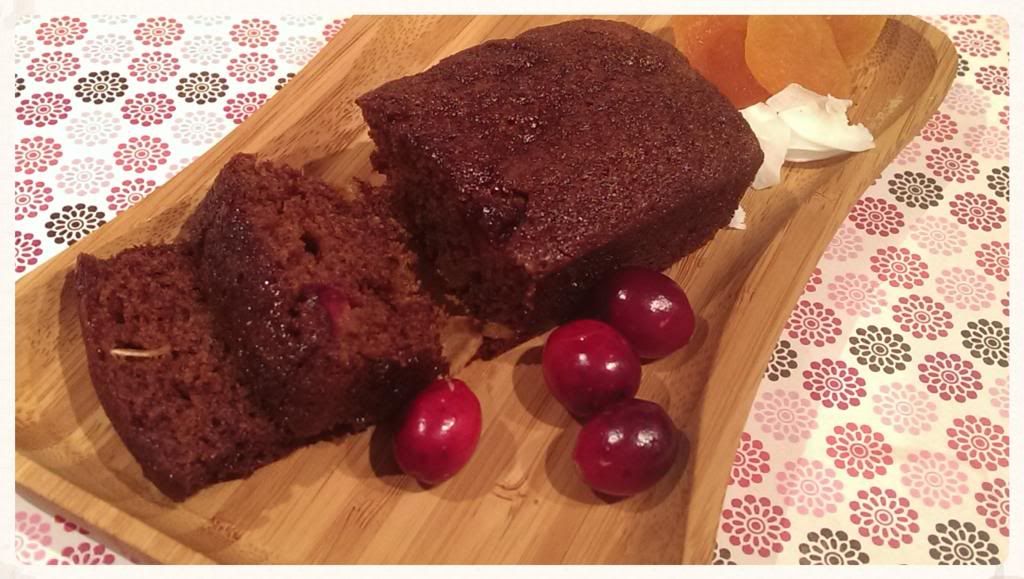
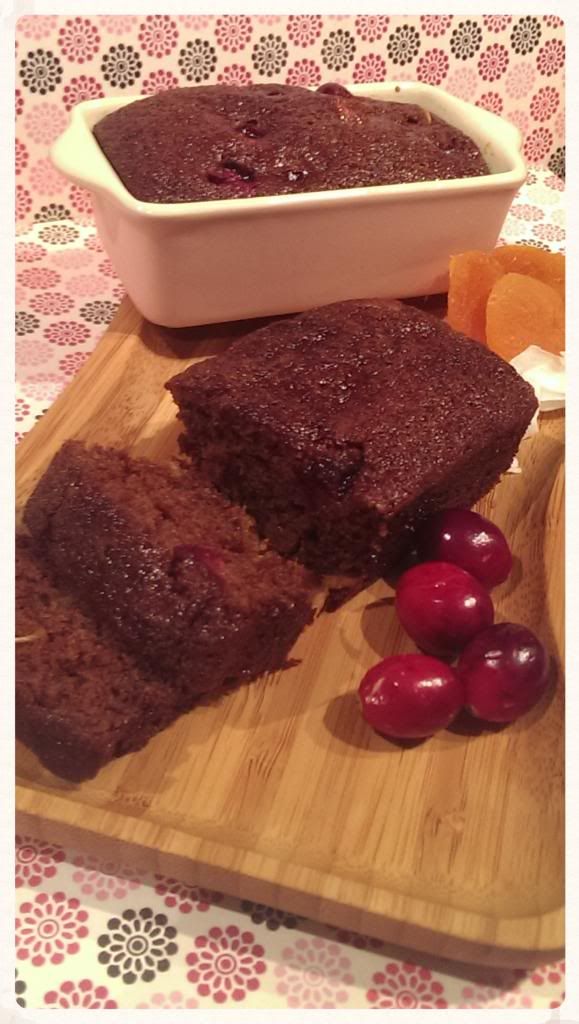
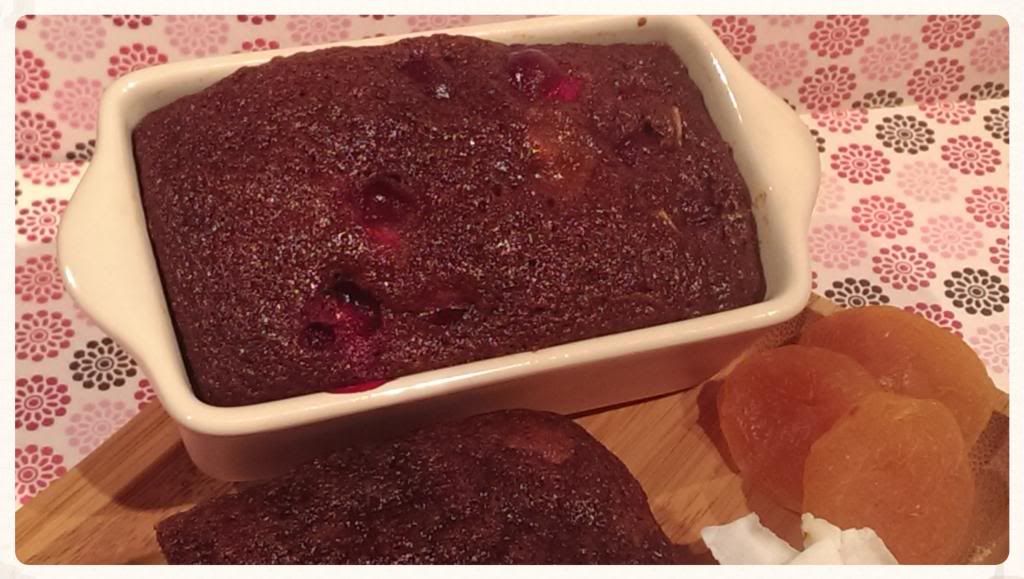
Even though Christmas is a fading memory and the cold crisp air is warming up, every so slightly, does not mean that those lovely winter spices have to vanish with the winter holiday. These little loaves are filed with gingerbread spices that warm the senses and to add a little fruitful healthy twist on them, I've added some fresh cranberries, dried apricots and slices of dried coconut to the mix.
The little loaves were perfect warmed up with melting butter or just as is. For breakfast a snack or with a nice cup of tea, the spice is noticeable but not overpowering and the sweetness of the dried apricots plays off the tart flavour of the fresh cranberries. I hope you all enjoy them as much as my colleagues and I did!
The base of the recipe comes from The New England Yankee Cookbook, another one passed down, which was published in 1939. It seems many of the recipes back then did not include milk or butter which lends this recipe to be dairy free. I did make one additional adjustment, besides adding the fruit, which was to swap out the shortening for coconut oil.
Fruit & Spice Gingerbread Mini Loaves
makes 16 mini loaves or 2 regular loaves
Originally listed as 'Maine Gingerbread' (adjustments include the addition of the fruits, additional sugar, and the use of coconut oil)
Equipment:
Bowl for mixing
Measuring cups and spoons
Mini loaf pans, or regular loaf pans
Wet Ingredients:
3/4 cup of sugar
1/2 coconut oil
1 cup of molasses
2 tsp baking soda
1 cup boiling water
Dry Ingredients:
2 1/2 cups of flour
1 tsp ground ginger
1 tsp ground clove
1 tsp ground cinnamon
1/2 tsp salt
2 eggs well beaten
1/2 cup large flaked coconut
1/2 cup of diced dried apricot
1 cup of cleaned, fresh cranberries (larger ones halved)
2 tbsp sugar
1) Preheat oven to 350 degrees and prep pans by greasing.
2) Mix the 2 tablespoons of sugar with the fresh halved cranberries and set aside.
3) Beat sugar and coconut oil together in mixer until fluffy and add the molasses.
4) Combine the baking soda and boiling water in a measuring cup until dissolved and add to wet ingredients in the mixing bowl.
5) In a seperate bowl, mix dry ingredients with a wooden spoon.
6) Add dry ingredients to wet ingredients and mix until combined. Add beaten eggs to mixture.
7) Add coconut, apricot and cranberries to mix, gently combine until fruit is mixed throughout. Pour into prepared loaf pans. (if using mini loaf pans, place on large cookie sheet to be placed in oven).
8) Set the timer for 30-35 minutes for the mini loves and 40-45 for the larger loaves. Use a toothpick or tester stick to check when done. The sides will be slightly caramelized and the pick should come out clean. Remove from oven and place on rack to cool. Remove loaves from pans 5-10 mins later and let cool, or serve immediately.
And as always, I hope you enjoy baking these lovely little loaves yourselves!
Sunday 12 January 2014
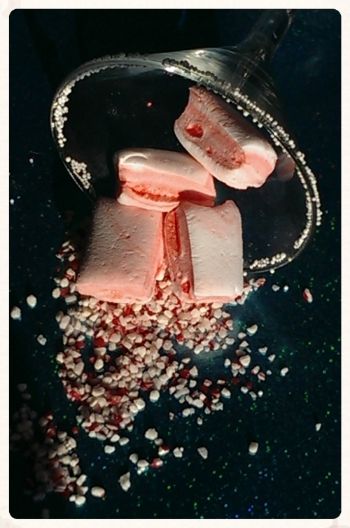
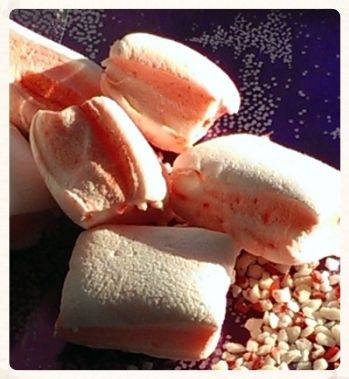
Candy Cane Peppermint Pillows (marshmallows)
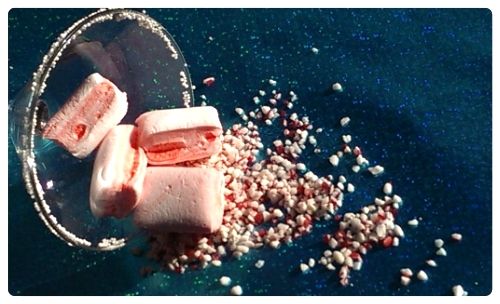
Tiny little fluffy bites of peppermint goodness.
You can let them swirl around in your mocha, bob hazily in your cocoa or nibble the corners until they are gone.
In bite size pieces they become addictive candy bites that melt in your mouth and allow the mind to drift. They seem so perfect right now as the weather around the country seems to have its own idea of frozen rain and ice storms. And as beautiful as it all looked, with silent streets and ice coating the tree branches, the craziness of the airports closing and the chance I might not make it home for Ontario for Christmas made the stress of the holidays increase ever so slightly.
Thankfully, I know have these lovely little pillows of goodness that just let the rest of the world melt away until until you're ready to deal with it all again.
Enjoy these little delights.
Candy Cane Marshmallow Recipe:
Bloom:
2/3 cup of cold water
1 tbsp of peppermint extract
4 packages of gelatine (4 tbsp)
Syrup:
1 1/2 cup of sugar
1 cup of white corn syrup
3/4 cup of water
Equipment:
stand mixer
candy thermometer
metal or glass pan (8 x 13)
spray for greasing the pan
red food colouring, or gel (i used Americolor super red)
cornstarch and powdered sugar or icing sugar for dusting
Follow the instructions from my Pumpkin Pie Marshmallow post or see them listed again below.
Making the Marshmallows:
1)
Lightly grease pan ( i prefer a pyrex glass pan) with spray - I like
to wipe down the pan lightly with a paper towel to wipe off any pooling
and spread the grease evenly to coat the pan.
2) Start with the Pumpkin Layer - add ingredients to large stand mixer bowl and sprinkle gelatine over top. Set aside.
3)
In a large 4 quart pan, add Syrup ingredients and stir over medium heat
until all the sugar has dissolved. Place candy thermometer in pan and
turn up the heat to high. Let it bubble until the liquid reaches 240
degrees or the soft candy stage. Remove from heat.
4)
Place a splash guard on the mixer and turn on low, stirring the bloom
together. Slowly pour in the syrup mixture and mix on 3 or 4 until mixed
and you can increase the speed without too much splashing.
5)
Increase the speed to 6 or 7. At this point you should be able to
remove the guard and allow the stand mixer to do its thing and beat the
air into the candy. This should take about 12 minutes.
6)
The mixture will start to resemble gooey marshmallow fluff. After about
12 minutes, it should be thick but still run. At this point we can add a 3-4 drops of the red food colouring and mix for another 30 seconds or so, allowing the red to swirl through the marshmallows.
7) Using a greased spatula, pour out the marshmallow layer into the greased pan. Set aside. Cover with aluminum foil lightly so nothing can drop into the marshmallow and set aside for 8 hours. Cut to desired size with a lightly greased knife.
7) Using a greased spatula, pour out the marshmallow layer into the greased pan. Set aside. Cover with aluminum foil lightly so nothing can drop into the marshmallow and set aside for 8 hours. Cut to desired size with a lightly greased knife.
Subscribe to:
Posts (Atom)

