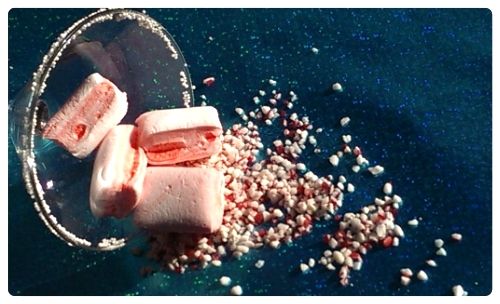
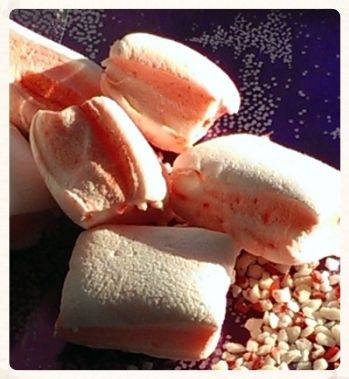
Tiny little fluffy bites of peppermint goodness.
You can let them swirl around in your mocha, bob hazily in your cocoa or nibble the corners until they are gone.
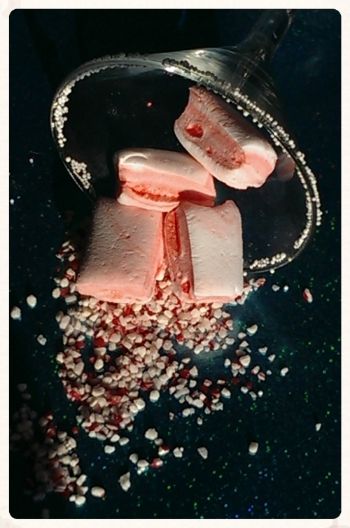
In bite size pieces they become addictive candy bites that melt in your mouth and allow the mind to drift. They seem so perfect right now as the weather around the country seems to have its own idea of frozen rain and ice storms. And as beautiful as it all looked, with silent streets and ice coating the tree branches, the craziness of the airports closing and the chance I might not make it home for Ontario for Christmas made the stress of the holidays increase ever so slightly.
Thankfully, I know have these lovely little pillows of goodness that just let the rest of the world melt away until until you're ready to deal with it all again.
Enjoy these little delights.
Candy Cane Marshmallow Recipe:
Bloom:
2/3 cup of cold water
1 tbsp of peppermint extract
4 packages of gelatine (4 tbsp)
Syrup:
1 1/2 cup of sugar
1 cup of white corn syrup
3/4 cup of water
Equipment:
stand mixer
candy thermometer
metal or glass pan (8 x 13)
spray for greasing the pan
red food colouring, or gel (i used Americolor super red)
cornstarch and powdered sugar or icing sugar for dusting
Follow the instructions from my Pumpkin Pie Marshmallow post or see them listed again below.
Making the Marshmallows:
1)
Lightly grease pan ( i prefer a pyrex glass pan) with spray - I like
to wipe down the pan lightly with a paper towel to wipe off any pooling
and spread the grease evenly to coat the pan.
2) Start with the Pumpkin Layer - add ingredients to large stand mixer bowl and sprinkle gelatine over top. Set aside.
3)
In a large 4 quart pan, add Syrup ingredients and stir over medium heat
until all the sugar has dissolved. Place candy thermometer in pan and
turn up the heat to high. Let it bubble until the liquid reaches 240
degrees or the soft candy stage. Remove from heat.
4)
Place a splash guard on the mixer and turn on low, stirring the bloom
together. Slowly pour in the syrup mixture and mix on 3 or 4 until mixed
and you can increase the speed without too much splashing.
5)
Increase the speed to 6 or 7. At this point you should be able to
remove the guard and allow the stand mixer to do its thing and beat the
air into the candy. This should take about 12 minutes.
6)
The mixture will start to resemble gooey marshmallow fluff. After about
12 minutes, it should be thick but still run. At this point we can add a 3-4 drops of the red food colouring and mix for another 30 seconds or so, allowing the red to swirl through the marshmallows.
7) Using a greased spatula, pour out the marshmallow layer into the greased pan. Set aside. Cover with aluminum foil lightly so nothing can drop into the marshmallow and set aside for 8 hours. Cut to desired size with a lightly greased knife.
7) Using a greased spatula, pour out the marshmallow layer into the greased pan. Set aside. Cover with aluminum foil lightly so nothing can drop into the marshmallow and set aside for 8 hours. Cut to desired size with a lightly greased knife.